Chrome 66 allows web pages to use a secondary attached display through the Presentation API and to control its contents through the Presentation Receiver API.
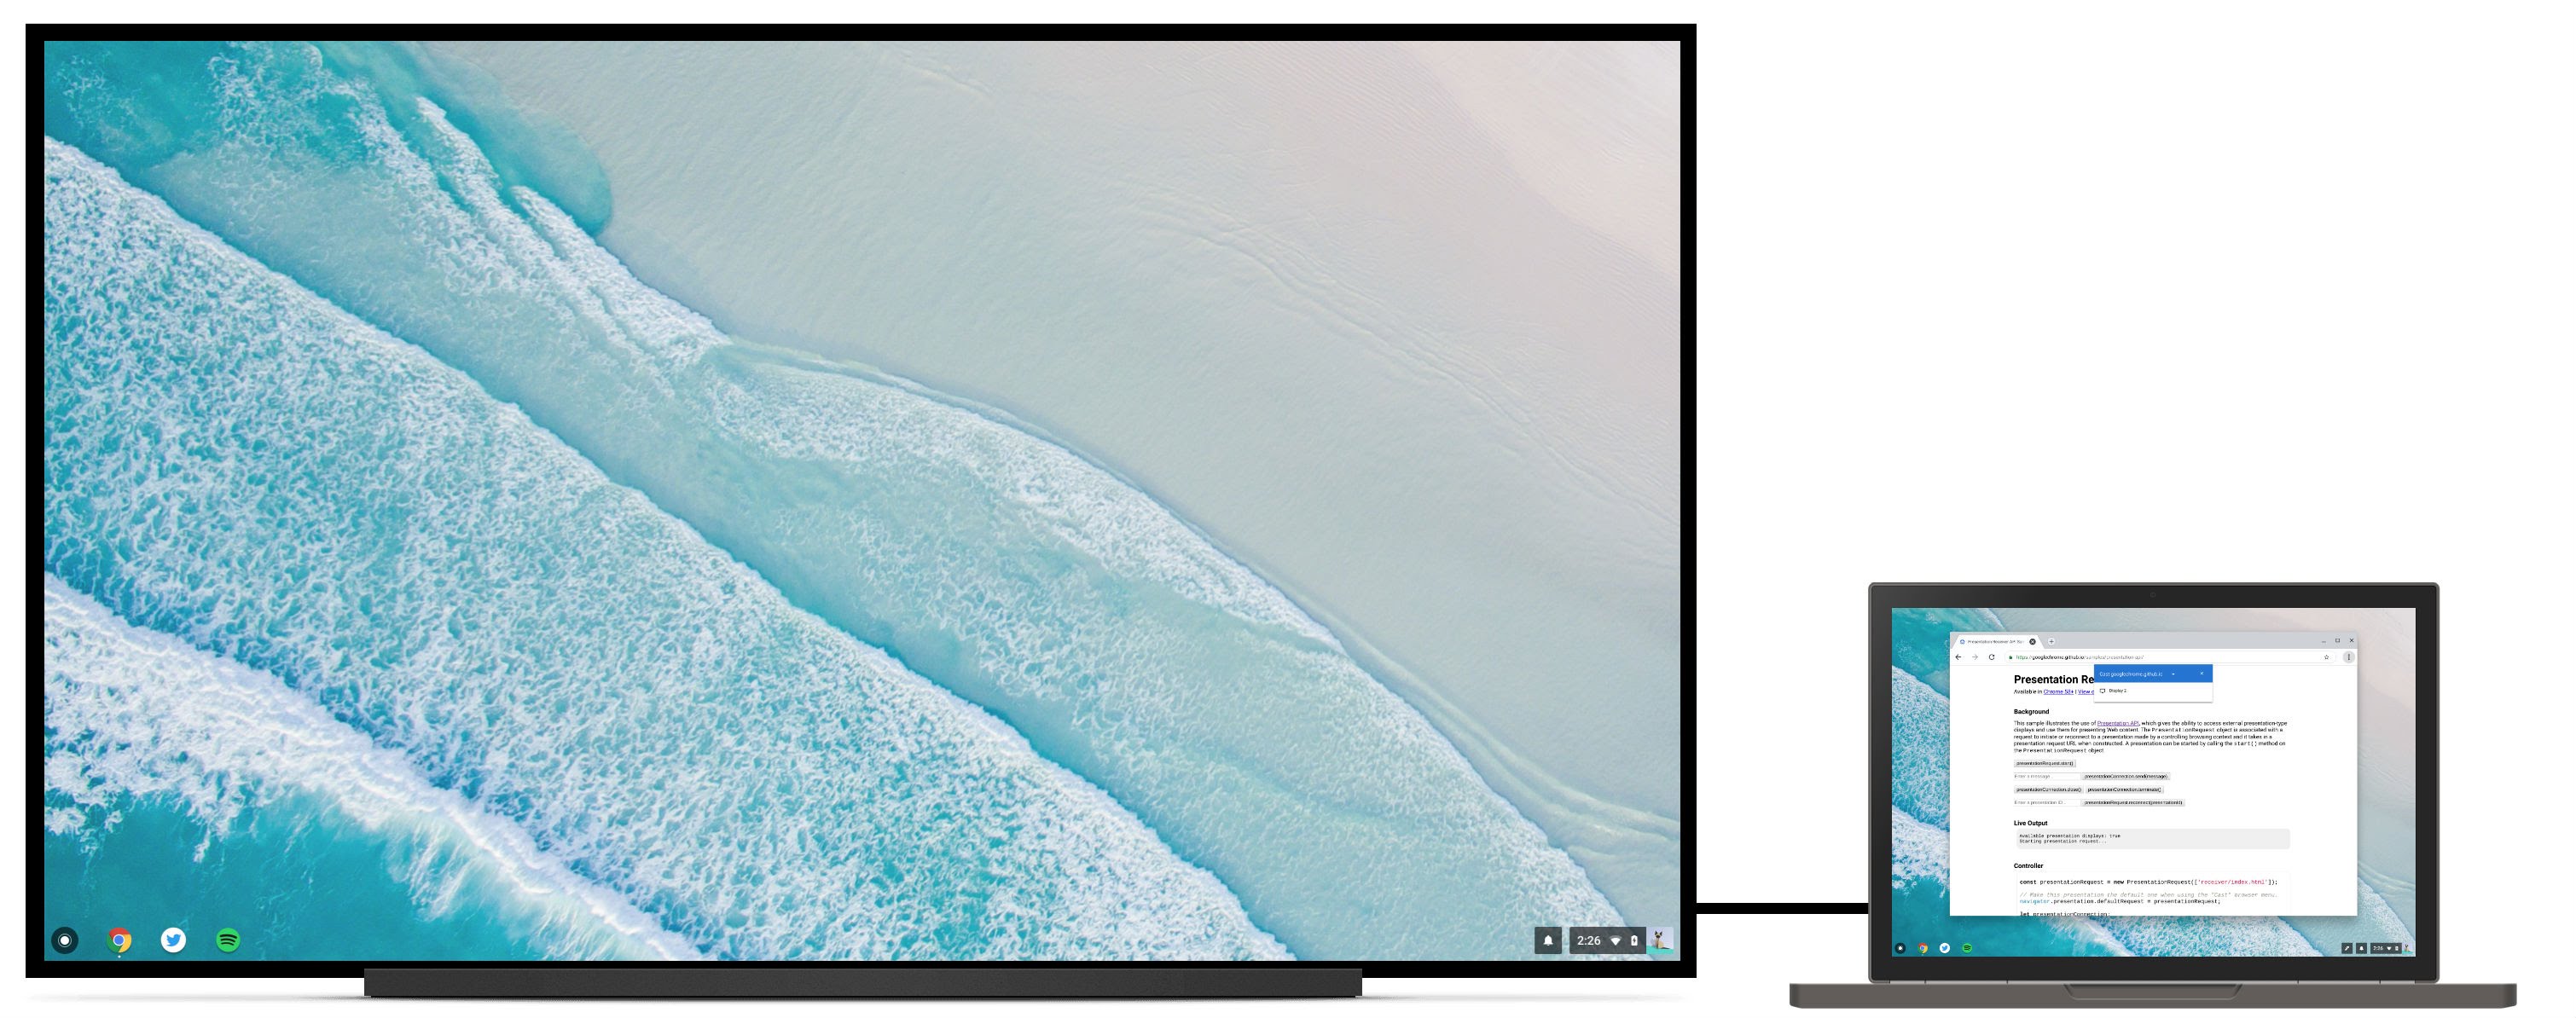
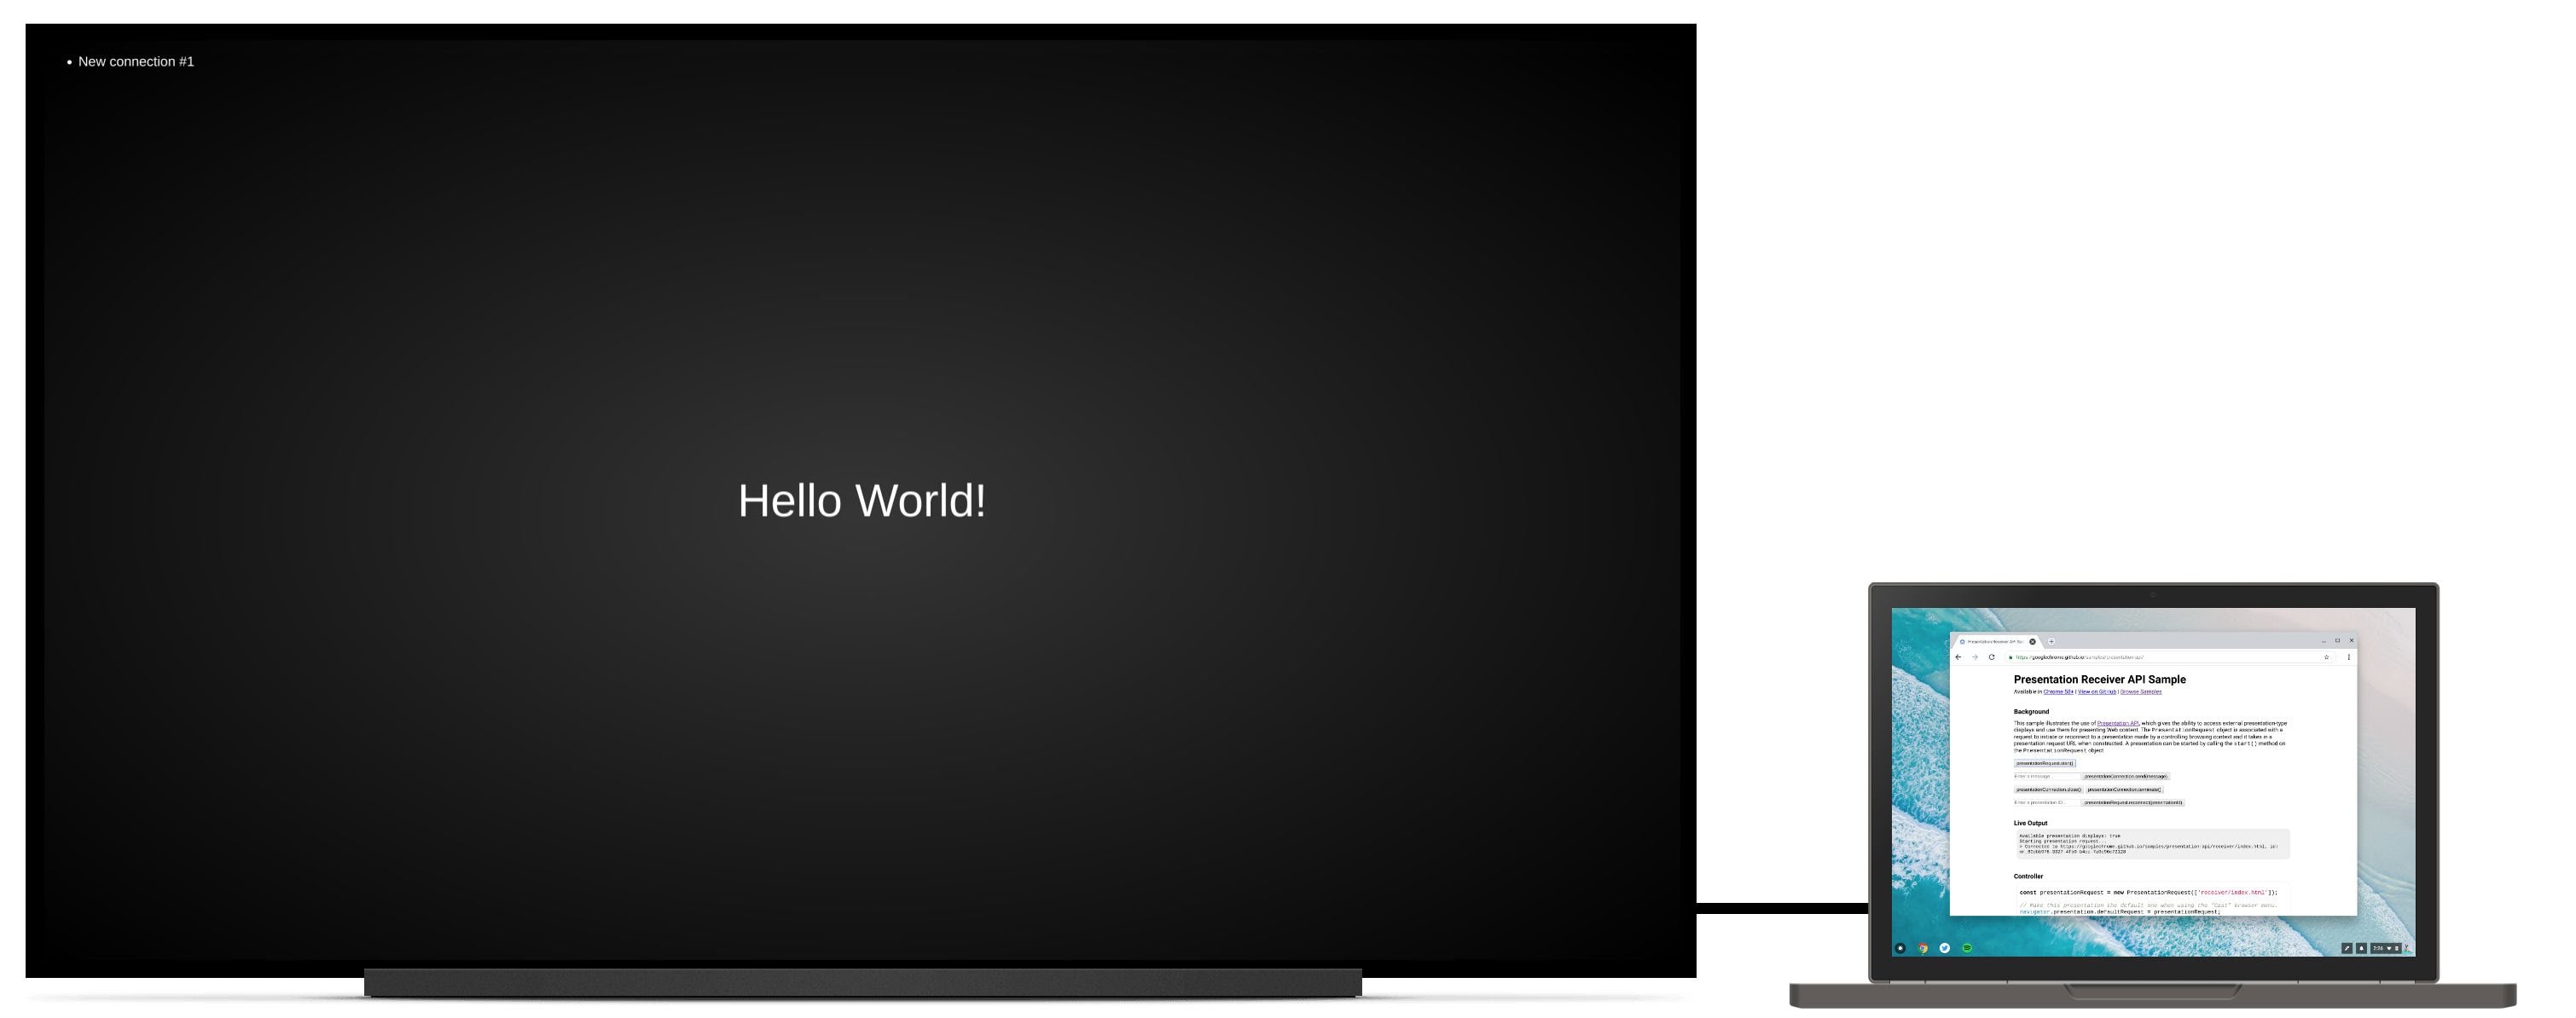
Background
Until now, web developers could build experiences where a user would see local content in Chrome that is different from the content they’d see on a remote display while still being able to control that experience locally. Examples include managing a playback queue on youtube.com while videos play on the TV, or seeing a slide reel with speaker notes on a laptop while the fullscreen presentation is shown in a Hangout session.
There are scenarios though where users may simply want to present content onto a second, attached display. For example, imagine a user in a conference room outfitted with a projector to which they are connected via an HDMI cable. Rather than mirroring the presentation onto a remote endpoint, the user really wants to present the slides full-screen on the projector, leaving the laptop screen available for speaker notes and slide control. While the site author could support this in a very rudimentary way (e.g. popping up a new window, which the user has to then manually drag to the secondary display and maximize to fullscreen), it is cumbersome and provides an inconsistent experience between local and remote presentation.
Present a page
Let me walk you through how to use the Presentation API to present a web page on your secondary attached display. The end result is available at https://googlechrome.github.io/samples/presentation-api/.
First, we’ll create a new PresentationRequest object that will contain the
URL we want to present on the secondary attached display.
const presentationRequest = new PresentationRequest('receiver.html');

In this article, I won’t cover use cases where the parameter passed to
`PresentationRequest` can be an array like `['cast://foo’, 'apple://foo',
'https://example.com']` as this is not relevant there.

We can now monitor presentation display availability and toggle a "Present"
button visibility based on presentation displays availability. Note that we can
also decide to always show this button.

<aside class="caution"><b>Caution:</b> The browser may use more energy while the <code>availability</code> object is alive
and actively listening for presentation display availability changes. Please
use it with caution in order to save energy on mobile.</aside>

```js
presentationRequest.getAvailability()
  .then(availability => {
    console.log('Available presentation displays: ' + availability.value);
    availability.addEventListener('change', function() {
      console.log('> Available presentation displays: ' + availability.value);
    });
  })
  .catch(error => {
    console.log('Presentation availability not supported, ' + error.name + ': ' +
        error.message);
  });
Showing a presentation display prompt requires a user gesture such as a click
on a button. So let’s call presentationRequest.start() on a button click and
wait for the promise to resolve once the user has selected a presentation
display (.e.g. a secondary attached display in our use case).
function onPresentButtonClick() {
  presentationRequest.start()
  .then(connection => {
    console.log('Connected to ' + connection.url + ', id: ' + connection.id);
  })
  .catch(error => {
    console.log(error);
  });
}
The list presented to the user may also include remote endpoints such as Chromecast devices if you’re connected to a network advertising them. Note that mirrored displays are not in the list. See http://crbug.com/840466.
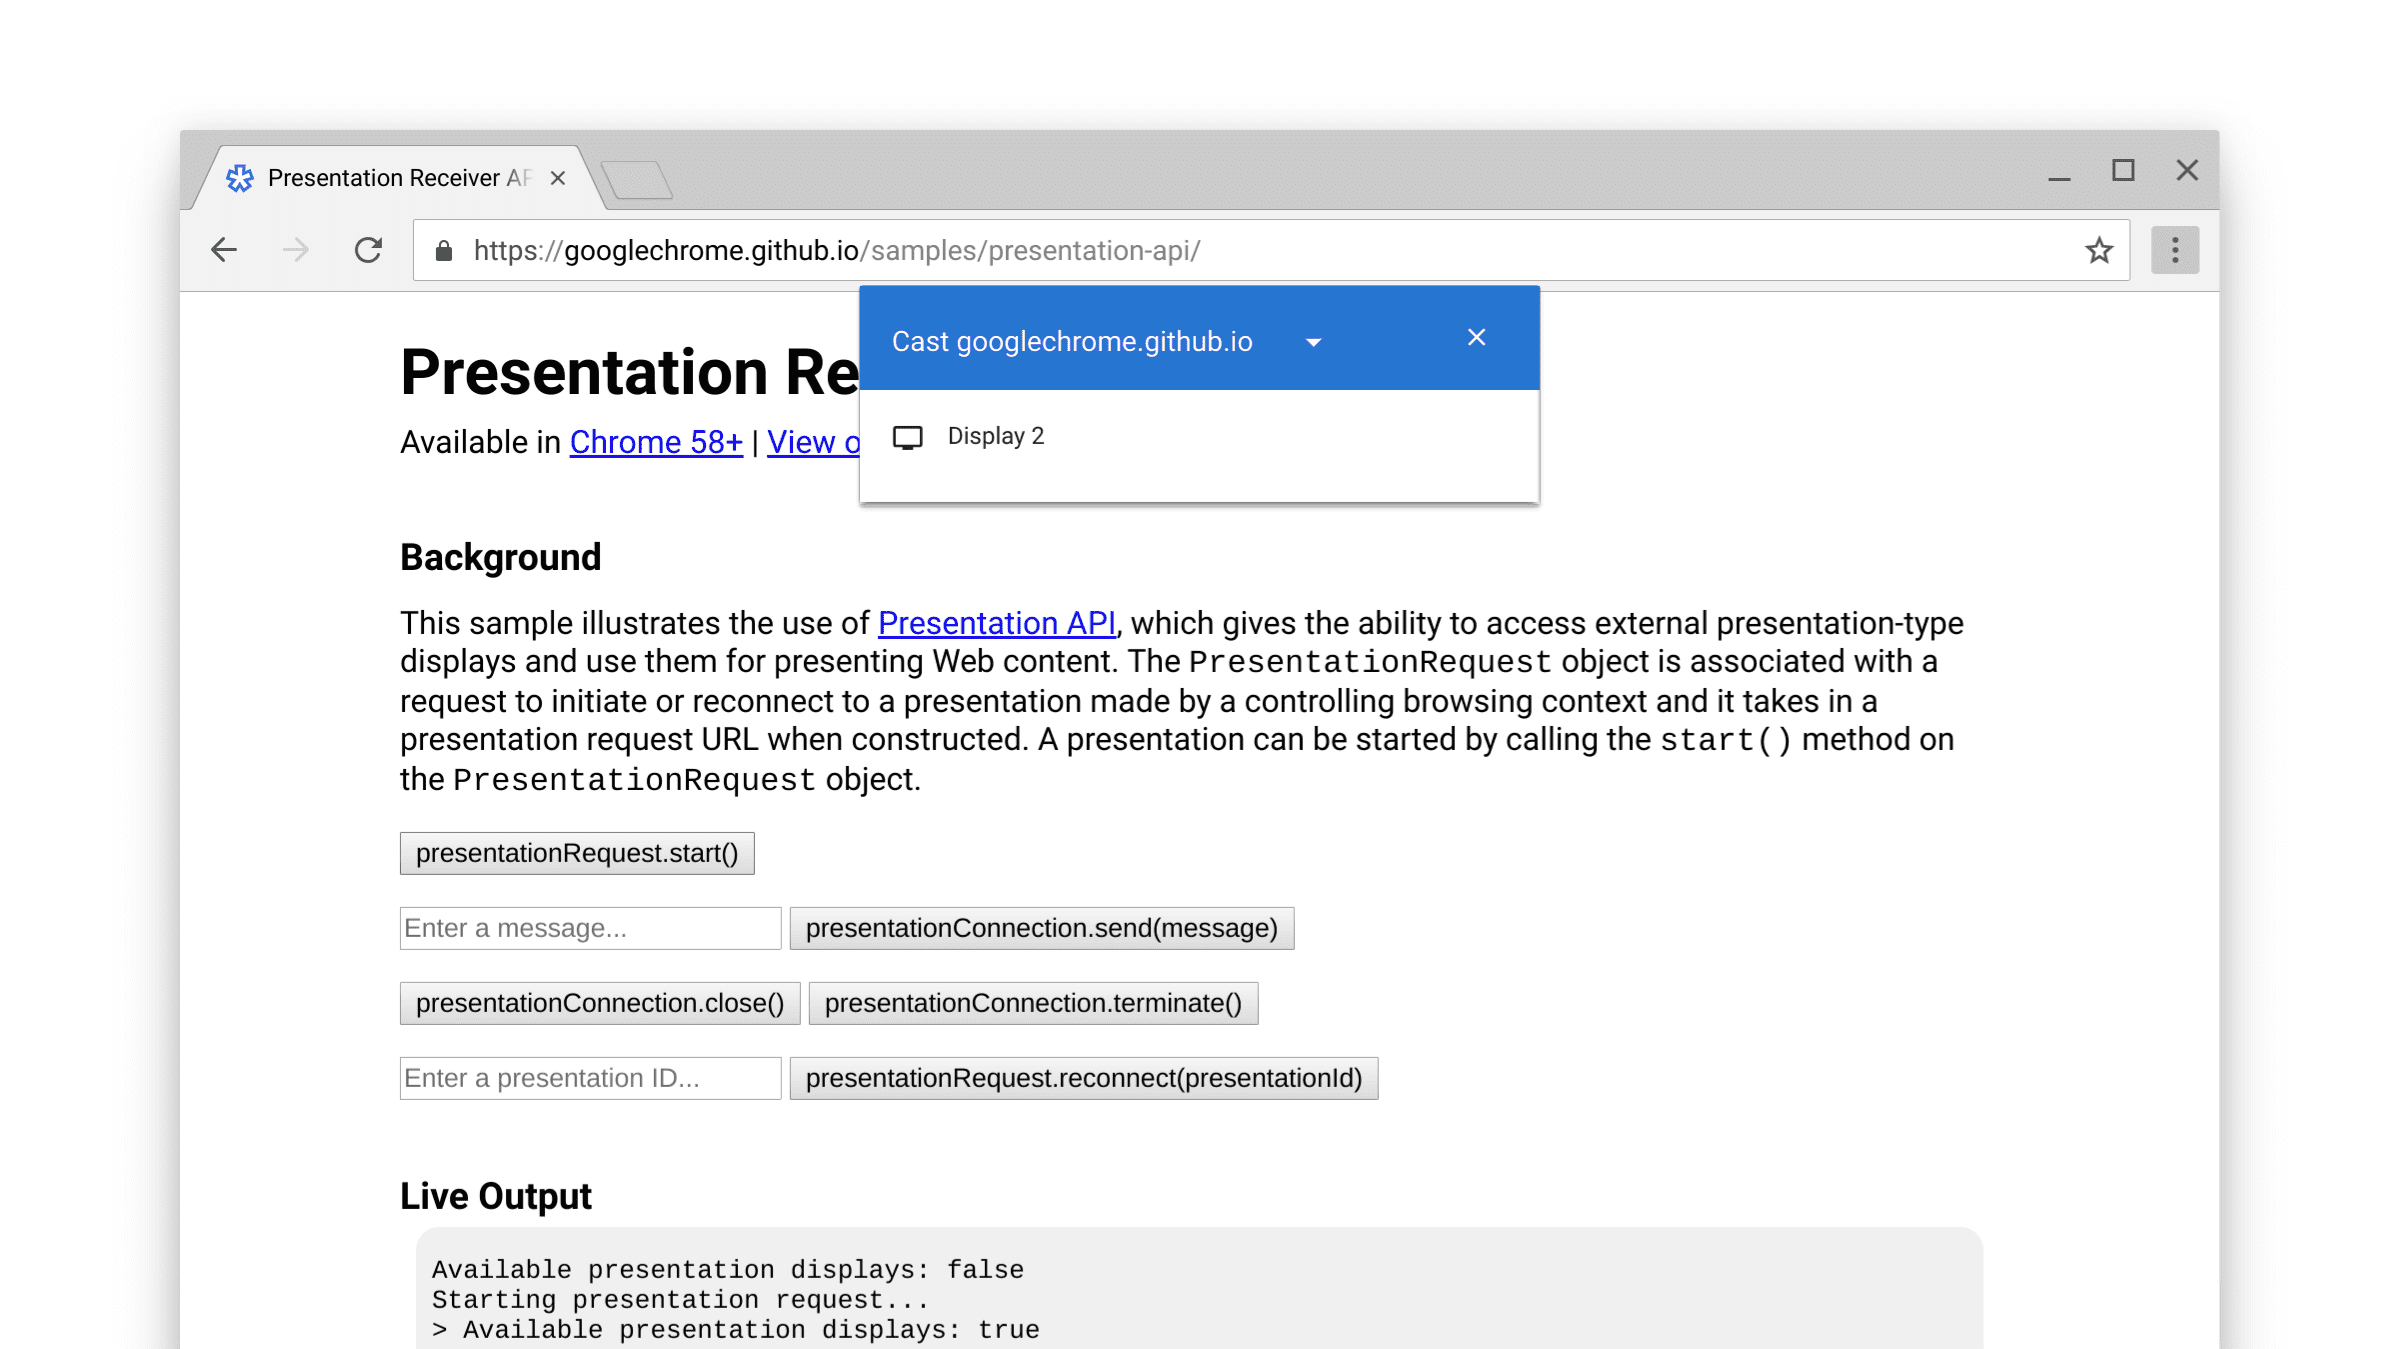
When promise resolves, the web page at the PresentationRequest object URL is
presented to the chosen display. Et voilà!
We can now go further and monitor "close" and "terminate" events as shown
below. Note that it is possible to reconnect to a "closed"
presentationConnection with presentationRequest.reconnect(presentationId)
where presentationId is the ID of the previous presentationRequest object.
function onCloseButtonClick() {
  // Disconnect presentation connection but will allow reconnection.
  presentationConnection.close();
}

presentationConnection.addEventListener('close', function() {
  console.log('Connection closed.');
});


function onTerminateButtonClick() {
  // Stop presentation connection for good.
  presentationConnection.terminate();
}

presentationConnection.addEventListener('terminate', function() {
  console.log('Connection terminated.');
});
Communicate with the page
Now you're thinking, that’s nice but how do I pass messages between my
controller page (the one we’ve just created) and the receiver page (the one
we’ve passed to the PresentationRequest object)?
First, let’s retrieve existing connections on the receiver page with
navigator.presentation.receiver.connectionList and listen to incoming
connections as shown below.
// Receiver page

navigator.presentation.receiver.connectionList
.then(list => {
  list.connections.map(connection => addConnection(connection));
  list.addEventListener('connectionavailable', function(event) {
    addConnection(event.connection);
  });
});

function addConnection(connection) {

  connection.addEventListener('message', function(event) {
    console.log('Message: ' + event.data);
    connection.send('Hey controller! I just received a message.');
  });

  connection.addEventListener('close', function(event) {
    console.log('Connection closed!', event.reason);
  });
}
A connection receiving a message fires a "message" event you can listen for.
The message can be a string, a Blob, an ArrayBuffer, or an ArrayBufferView.
Sending it is as simple as calling connection.send(message) from the
controller page or the receiver page.
// Controller page

function onSendMessageButtonClick() {
  presentationConnection.send('Hello!');
}

presentationConnection.addEventListener('message', function(event) {
  console.log('I just received ' + event.data + ' from the receiver.');
});
Play with the sample at https://googlechrome.github.io/samples/presentation-api/ to get a sense of how it works. I’m sure you’ll enjoy this as much as I do.
Samples and demos
Check out the official Chrome sample we've used for this article.
I recommend the interactive Photowall demo as well. This web app allows multiple controllers to collaboratively present a photo slideshow on a presentation display. Code is available at https://github.com/GoogleChromeLabs/presentation-api-samples.
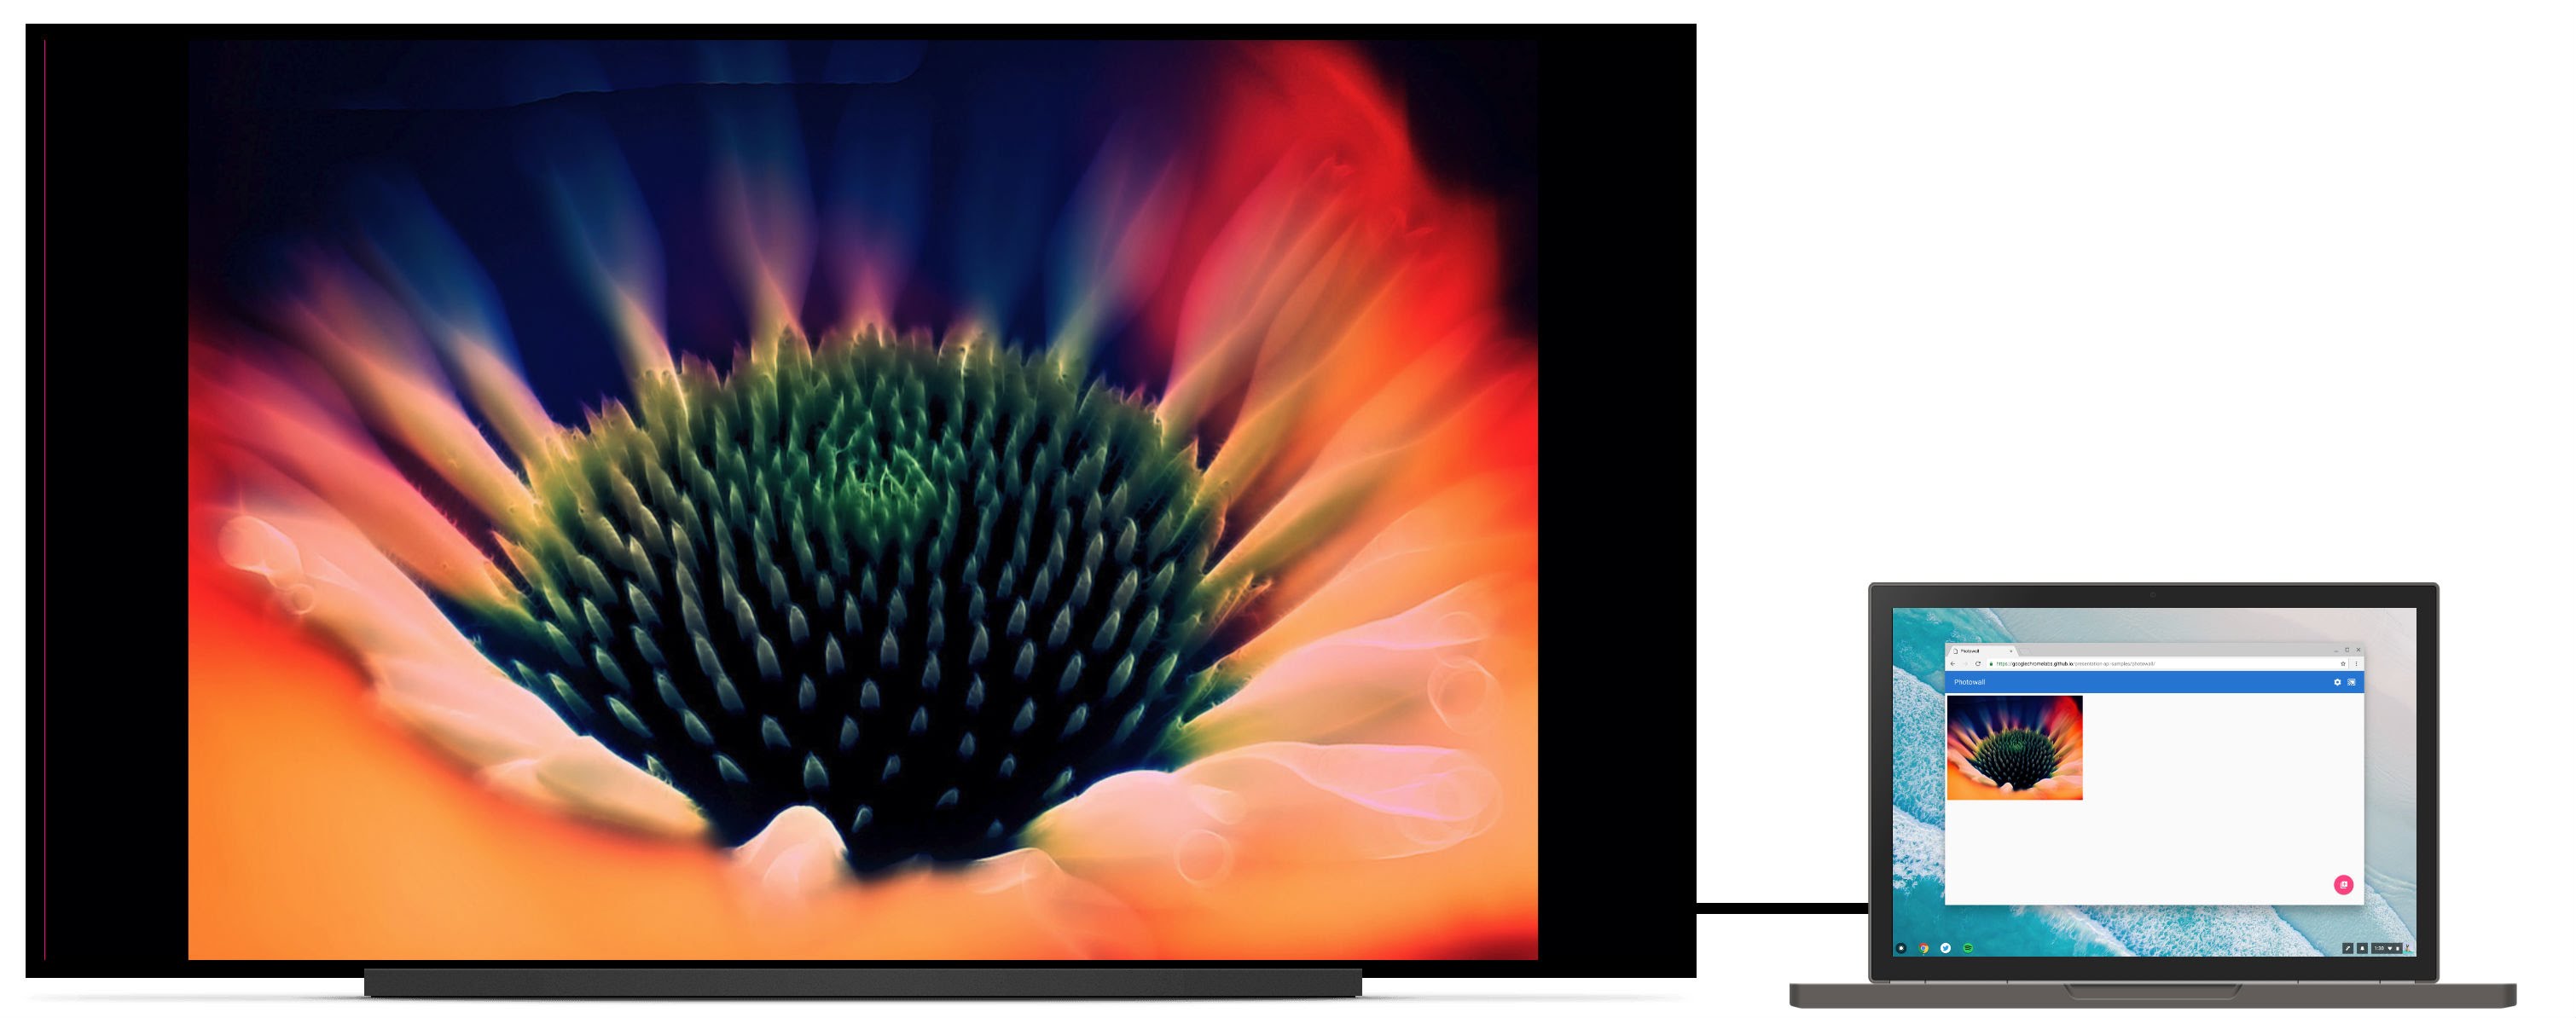
One more thing
Chrome has a "Cast" browser menu users can invoke at any time while visiting a
website. If you want to control the default presentation for this menu, then
assign navigator.presentation.defaultRequest to a custom
presentationRequest object created earlier.
// Make this presentation the default one when using the "Cast" browser menu.
navigator.presentation.defaultRequest = presentationRequest;
Dev tips
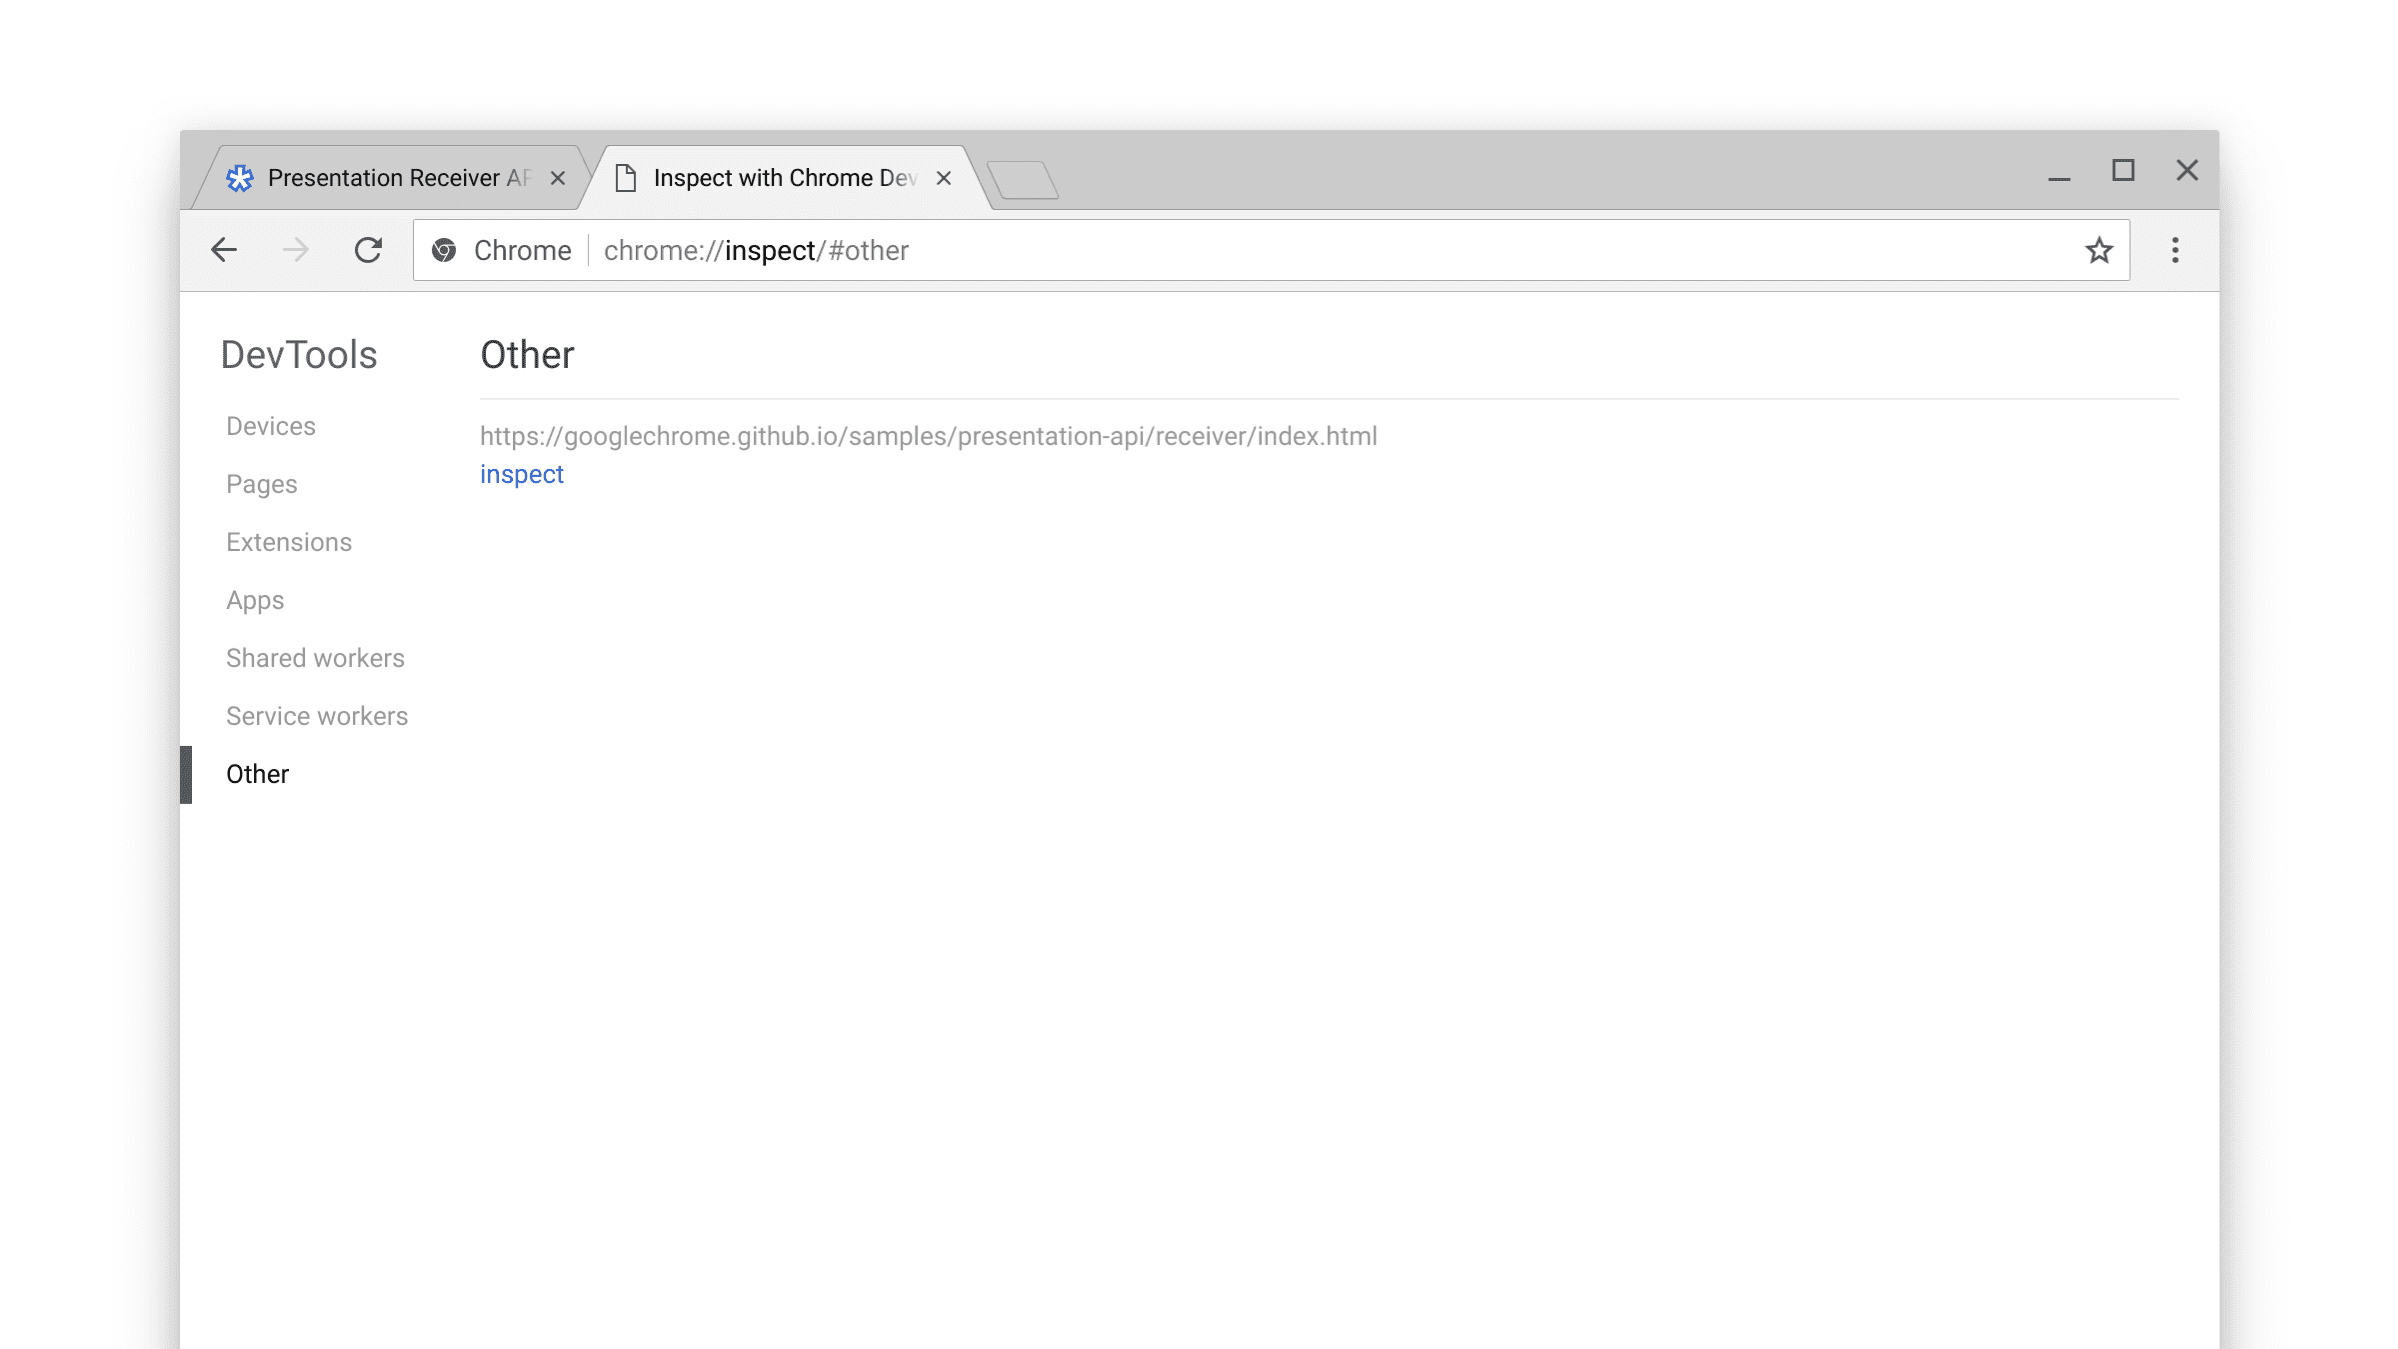
To inspect the receiver page and debug it, go to the internal
chrome://inspect page, select “Other”, and click the “inspect” link next to
the currently presented URL.
You may also want to check out the internal chrome://media-router-internals
page for diving into the internal discovery/availability processes.
What's next
As of Chrome 66, ChromeOS, Linux, and Windows platforms are supported. Mac support will come later.
Resources
- Chrome Feature Status: https://www.chromestatus.com/features#presentation%20api
- Implementation Bugs: https://crbug.com/?q=component:Blink>PresentationAPI
- Presentation API Spec: https://w3c.github.io/presentation-api/
- Spec Issues: https://github.com/w3c/presentation-api/issues

