
Learn the basics of Chrome extension development by building your first Hello World extension.
Overview
You will create a "Hello World" example, load the extension locally, locate logs, and explore other recommendations.
Hello World
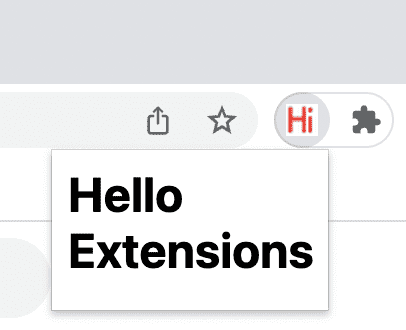
This extension will display “Hello Extensions” when the user clicks the extension toolbar icon.
Start by creating a new directory to store your extension files. If you prefer, you can download the full source code from GitHub.
Next, create a new file in this directory called manifest.json. This JSON file describes the extension's
capabilities and configuration. For example, most manifest files contain an "action" key which declares
the image Chrome should use as the extension's action icon and the HTML page to show in a popup when the
extension's action icon is clicked.
{
  "name": "Hello Extensions",
  "description": "Base Level Extension",
  "version": "1.0",
  "manifest_version": 3,
  "action": {
    "default_popup": "hello.html",
    "default_icon": "hello_extensions.png"
  }
}
Download the icon to your directory, and be sure to change its name to match what's in the "default_icon" key.
For the popup, create a file named hello.html, and add the following code:
<html>
  <body>
    <h1>Hello Extensions</h1>
  </body>
</html>
The extension now displays a popup when the extension's action icon (toolbar icon) is clicked. You can test it in Chrome by loading it locally. Ensure all files are saved.
Load an unpacked extension
To load an unpacked extension in developer mode:
- Go to the Extensions page by entering
chrome://extensionsin a new tab. (By designchrome://URLs are not linkable.)- Alternatively, click the Extensions menu puzzle button and select Manage Extensions at the bottom of the menu.
- Or, click the Chrome menu, hover over More Tools, then select Extensions.
- Enable Developer Mode by clicking the toggle switch next to Developer mode.
- Click the Load unpacked button and select the extension directory.
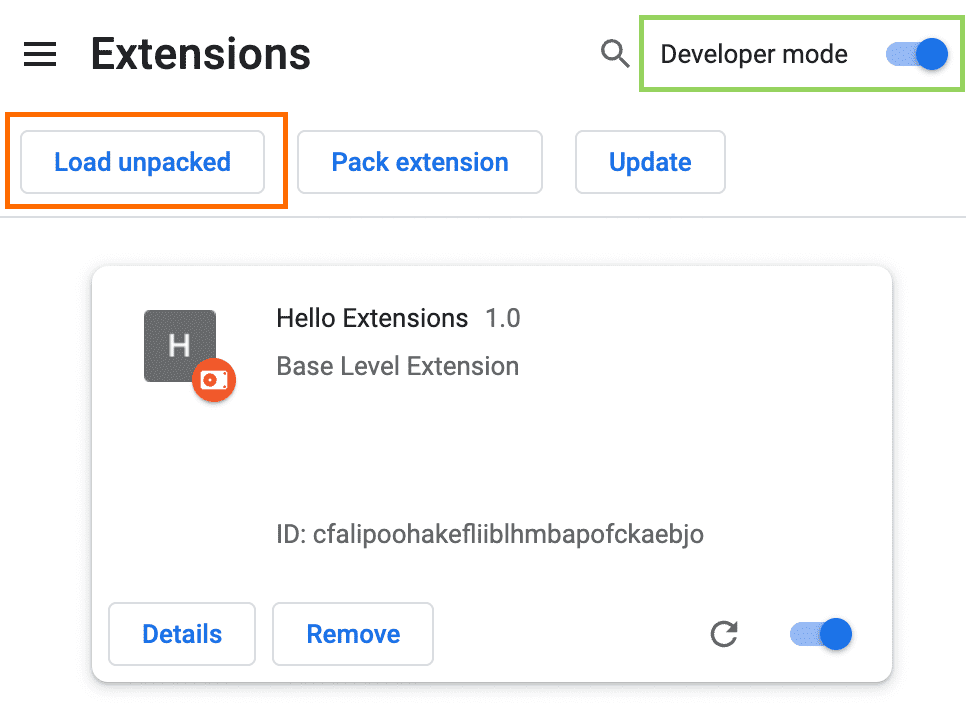
Extensions page (chrome://extensions)
Ta-da! The extension has been successfully installed. If no extension icons were included in the manifest, a generic icon will be created for the extension.
Pin the extension
By default, when you load your extension locally, it will appear in the extensions menu (![]() ). Pin your extension to the toolbar to quickly access your extension during development.
). Pin your extension to the toolbar to quickly access your extension during development.
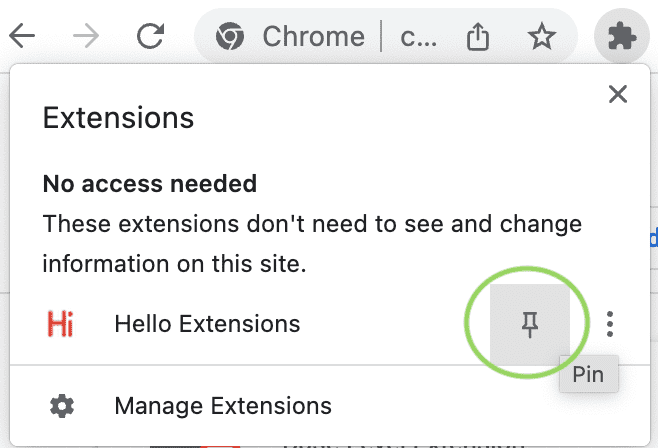
Click the extension's action icon (toolbar icon); you should see a popup.

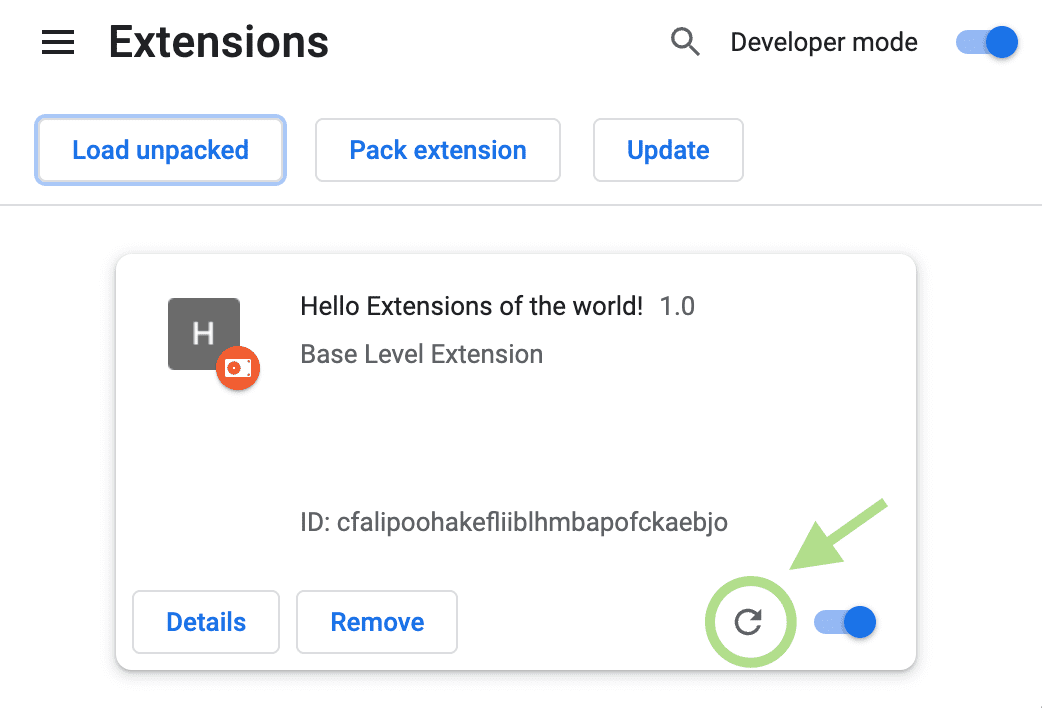
Reload the extension
Go back to the code and change the name of the extension to "Hello Extensions of the world!" in the manifest.
{
  "manifest_version": 3,
  "name": "Hello Extensions of the world!",
  ...
}
After saving the file, to see this change in the browser you also have to refresh the extension. Go to the Extensions page and click the refresh icon next to the on/off toggle:
When to reload the extension
The following table shows which components need to be reloaded to see changes:
| Extension component | Requires extension reload |
|---|---|
| The manifest | Yes |
| Service worker | Yes |
| Content scripts | Yes (plus the host page) |
| The popup | No |
| Options page | No |
| Other extension HTML pages | No |
Find console logs and errors
Console logs
During development, you can debug your code by accessing the browser console logs. In this case, we
will locate the logs for the popup. Start by adding a script tag to hello.html.
<html>
  <body>
    <h1>Hello Extensions</h1>
    <script src="popup.js"></script>
  </body>
</html>
Create a popup.js file and add the following code:
console.log("This is a popup!")
To see this message logged in the Console:
- Open the popup.
- Right-click the popup.
- Select Inspect.
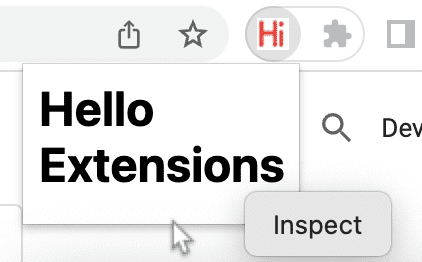
Inspecting a popup. - In the DevTools, navigate to the Console panel.
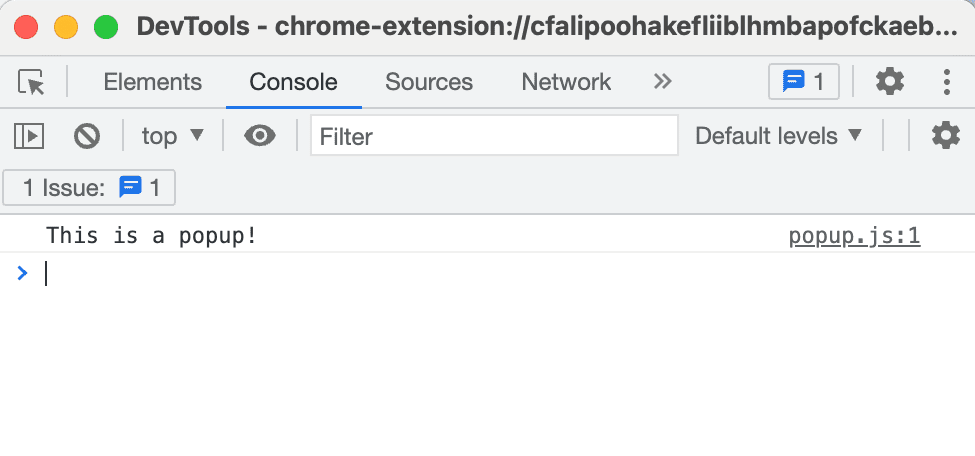
Inspecting a popup
Error logs
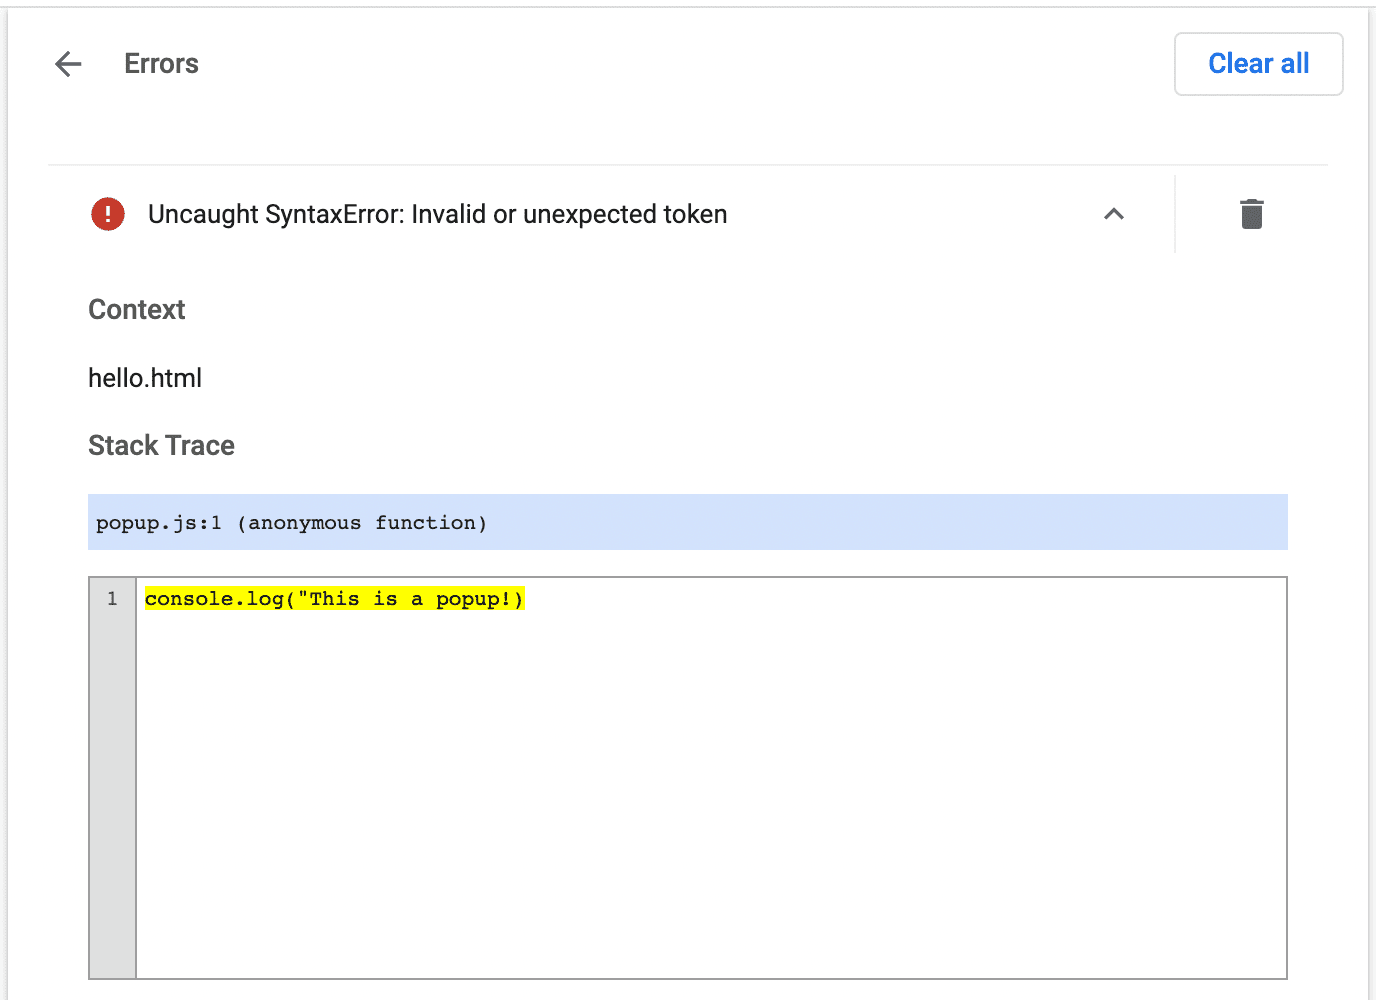
Now let's break the extension. We can do so by removing the closing quote in popup.js:
console.log("This is a popup!) // ❌ broken code
Go to the Extensions page and open the popup. An Errors button will appear.
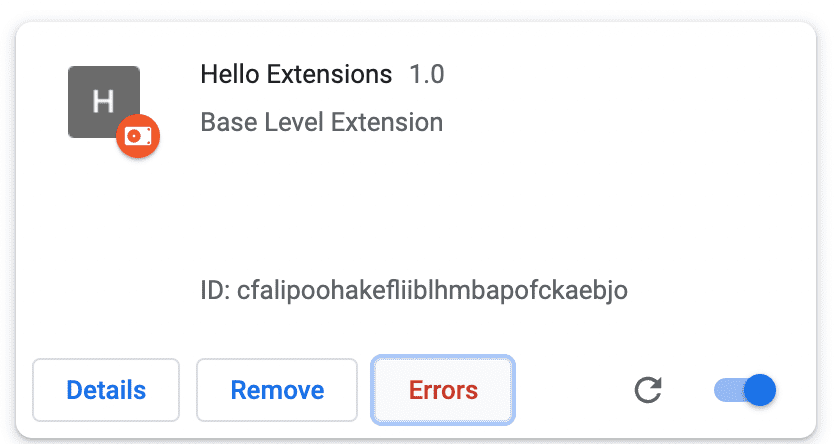
Click the Errors button to learn more about the error:
To learn more about debugging the service worker, options page, and content scripts, see Debugging extensions.
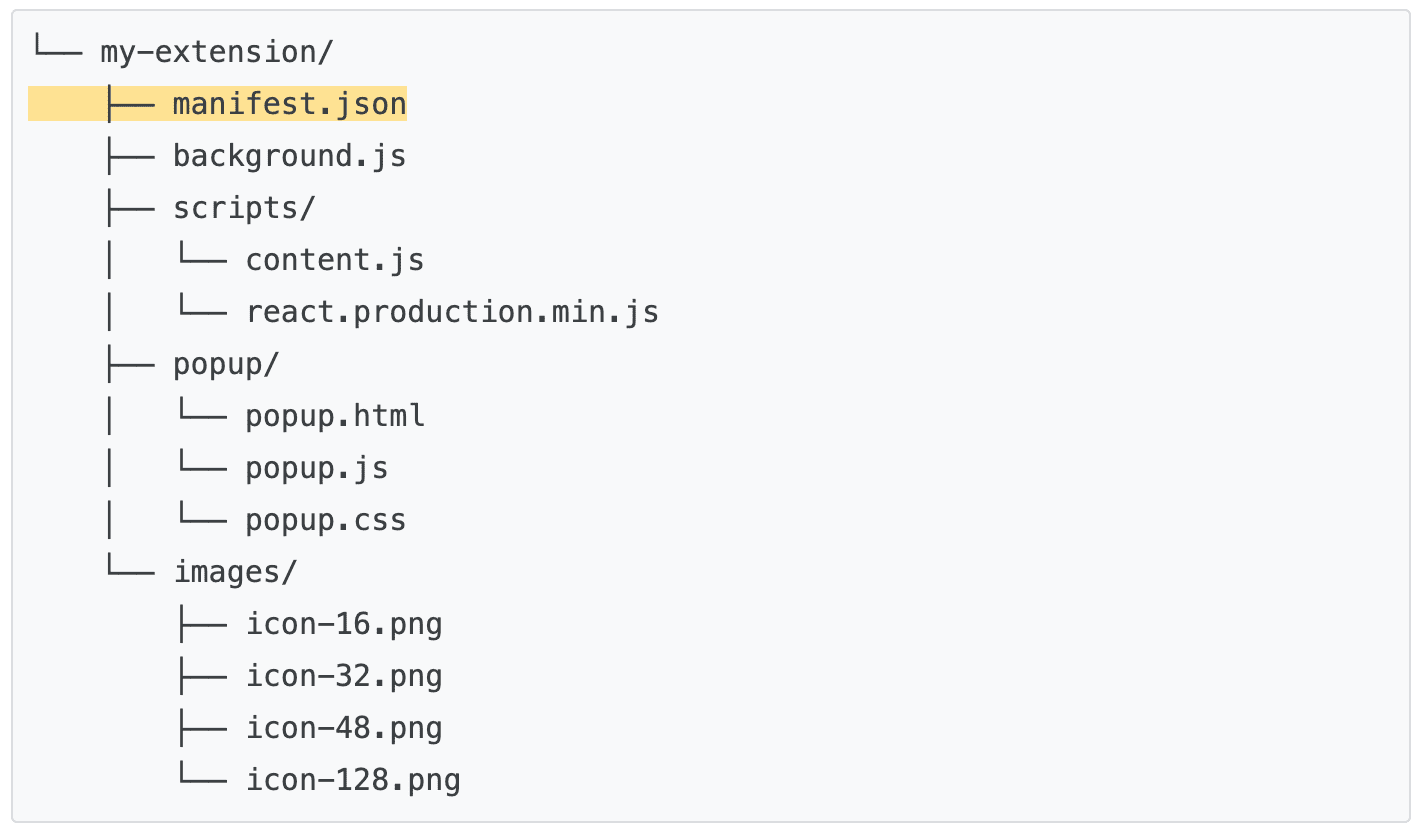
Structure an extension project
There are many ways to structure an extension project; however, the only prerequisite is to place the manifest.json file in the extension's root directory as in following example:
Use TypeScript
If you are developing using a code editor, you can use the npm package chrome-types to take advantage of auto-completion for the Chrome API. This npm package is updated automatically when the Chromium source code changes.
🚀 Ready to start building?
Choose any of the following tutorials to begin your extension learning journey.
| Extension | What you will learn |
|---|---|
| Run scripts on every page | To insert an element on every page automatically. |
| Inject scripts into the active tab | To run code on the current page after clicking on the extension action. |
| Manage tabs | To create a popup that manages browser tabs. |
| Handle events with service workers | How an extension service worker handles events. |